---
title: Generic Setup
---
### Create User/Group
1. Create a new user account to bind with under _Directory_ -> _Users_ -> _Create_, in this example called `ldapservice`.
Note the DN of this user will be `cn=ldapservice,ou=users,dc=ldap,dc=goauthentik,dc=io`
2. Create a new group for LDAP searches. In this example `ldapsearch`. Add the `ldapservice` user to this new group.
:::info
Note: The `default-authentication-flow` validates MFA by default, and currently everything but SMS-based devices are supported by LDAP. If you plan to use only dedicated service accounts to bind to LDAP, or don't use SMS-based authenticators, then you can use the default flow and skip the extra steps below and continue at [Create LDAP Provider](#create-ldap-provider)
:::
### LDAP Flow
#### Create Custom Stages
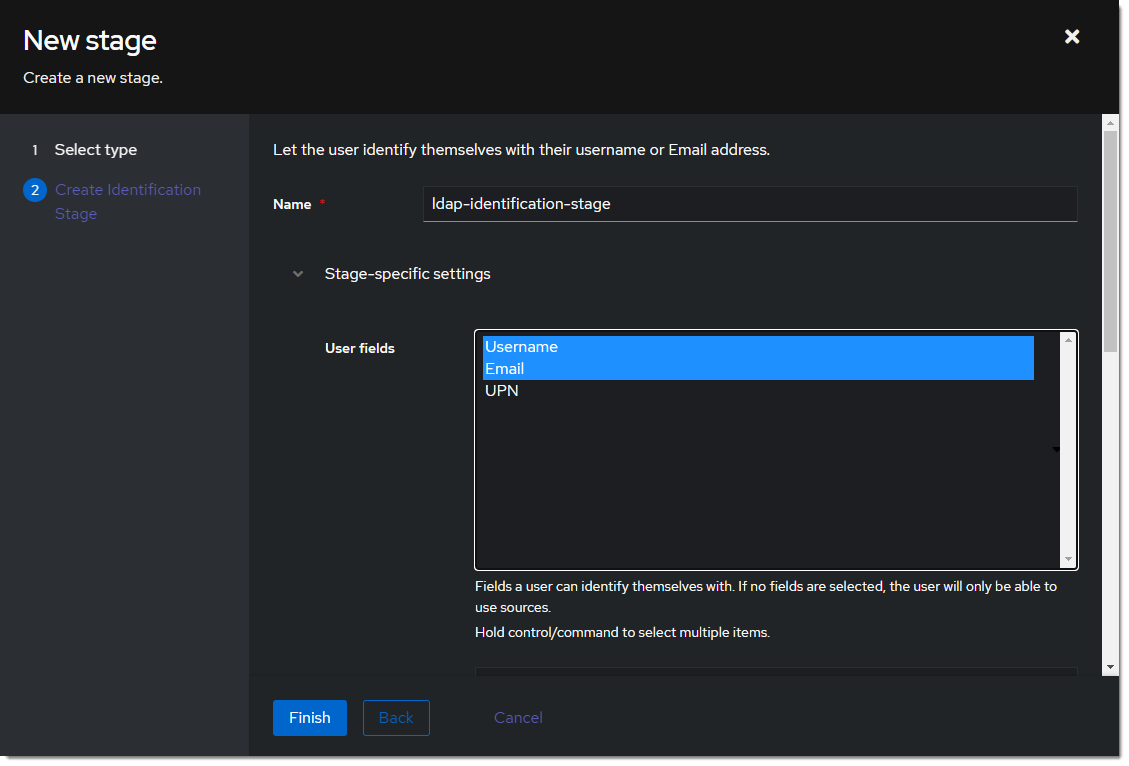
1. Create a new identification stage. _Flows & Stage_ -> _Stages_ -> _Create_

2. Name it something meaningful like `ldap-identification-stage`. Select User fields Username and Email (and UPN if it is relevant to your setup).
3. Create a new password stage. _Flows & Stage_ -> _Stages_ -> _Create_

4. Name it something meaningful like `ldap-authentication-password`. Leave the defaults for Backends.

5. Create a new user login stage. _Flows & Stage_ -> _Stages_ -> _Create_

6. Name it something meaningful like `ldap-authentication-login`.

#### Create Custom Flow
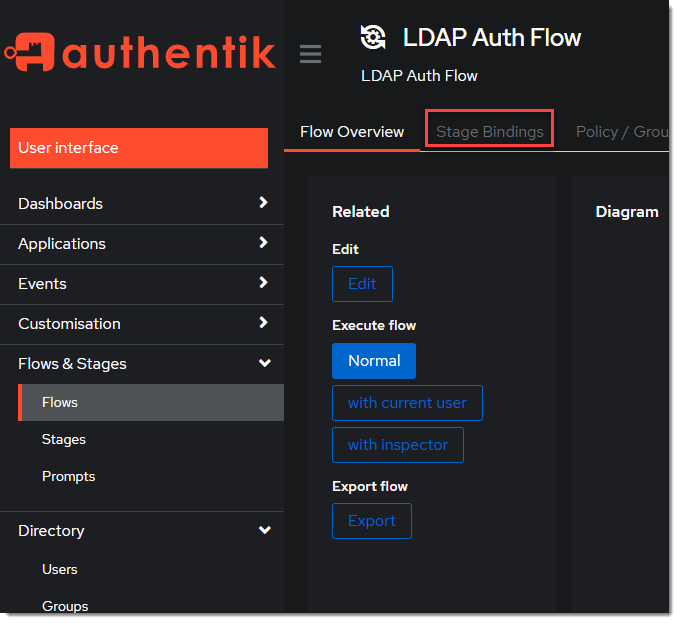
1. Create a new authentication flow under _Flows & Stage_ -> _Flows_ -> _Create_, and name it something meaningful like `ldap-authentication-flow`

2. Click the newly created flow and choose _Stage Bindings_.
3. Click `Bind Stage` choose `ldap-identification-stage` and set the order to `10`.
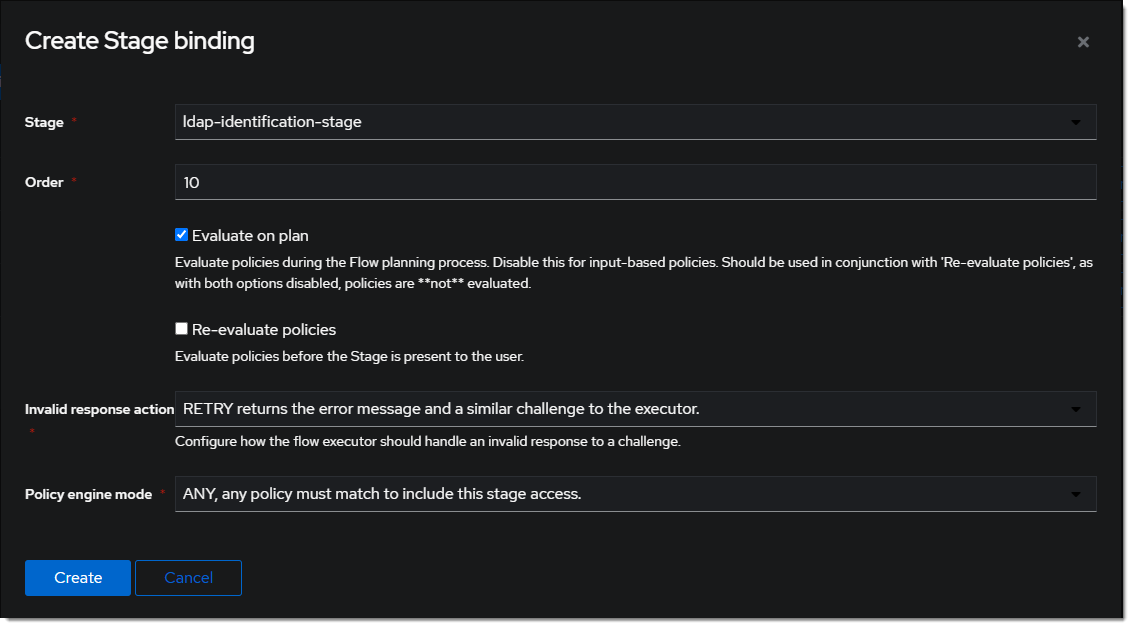
4. Click `Bind Stage` choose `ldap-authentication-login` and set the order to `30`.

5. Edit the `ldap-identification-stage`.

6. Change the Password stage to `ldap-authentication-password`.

### Create LDAP Provider
1. Create the LDAP Provider under _Applications_ -> _Providers_ -> _Create_.
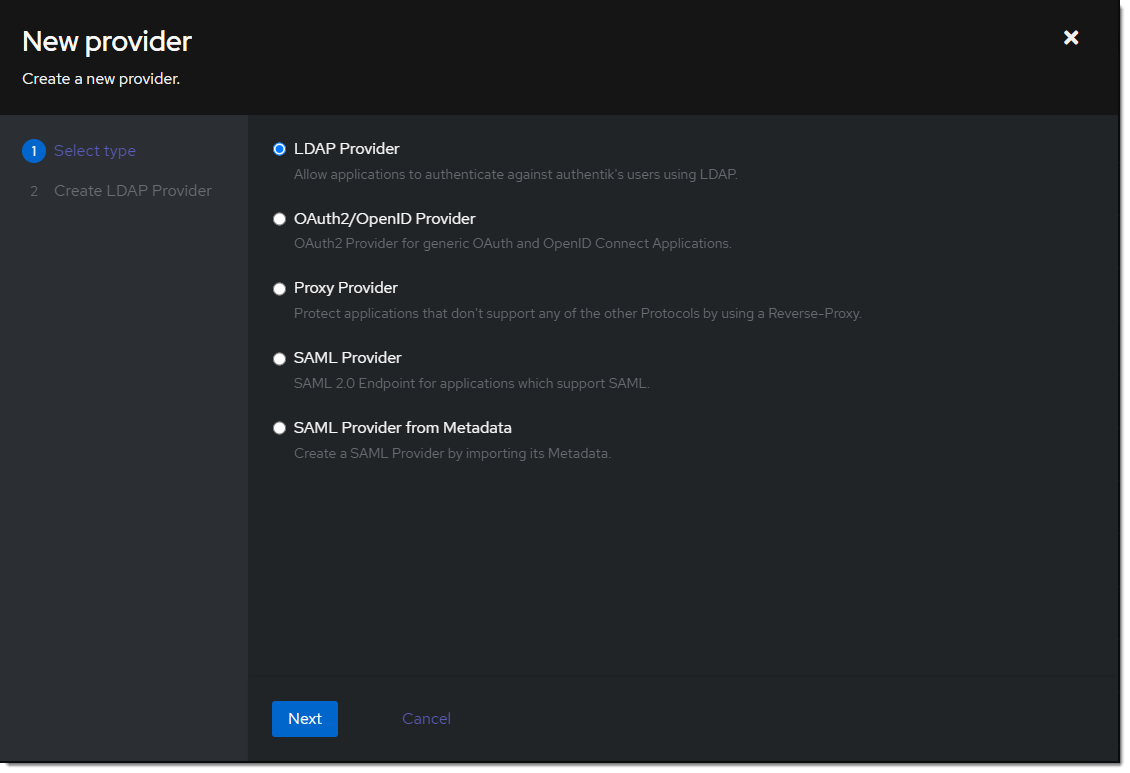
2. Name is something meaningful like `LDAP`, bind the custom flow created previously (or the default flow, depending on setup) and specify the search group created earlier.

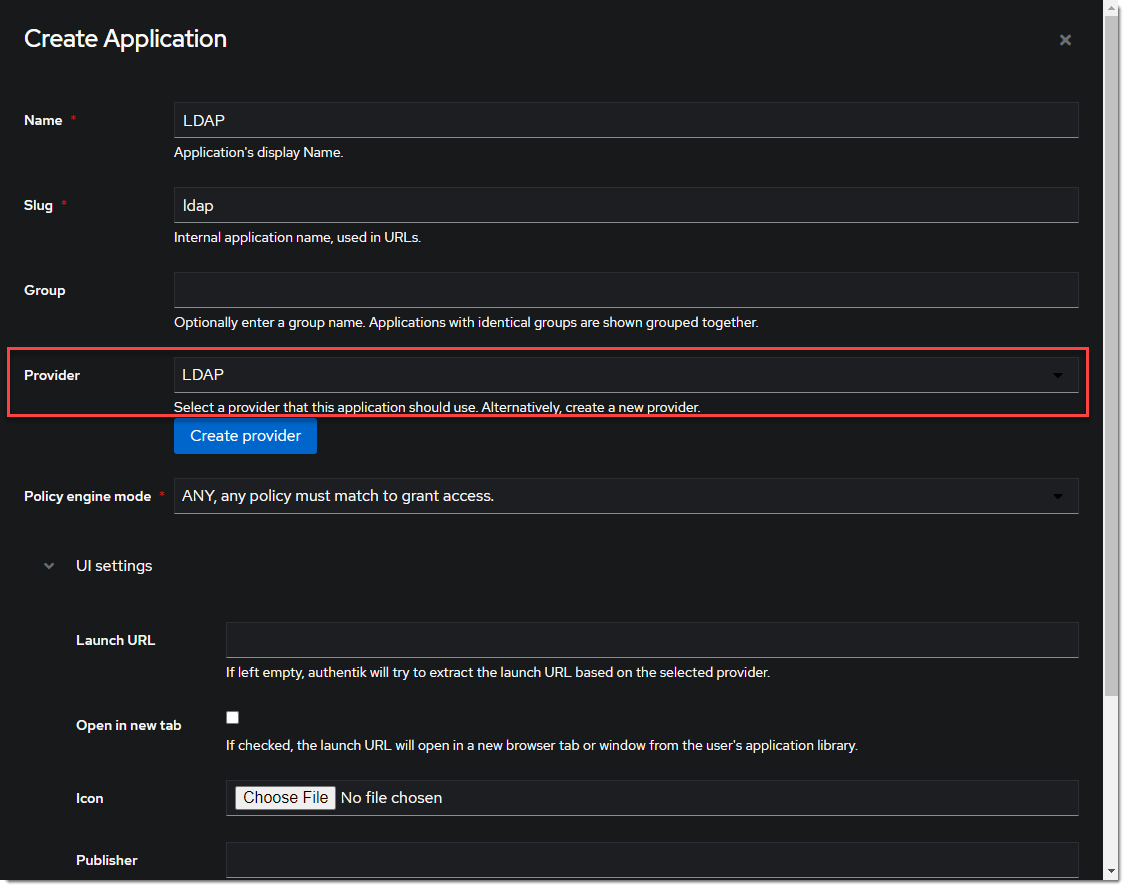
### Create LDAP Application
1. Create the LDAP Application under _Applications_ -> _Applications_ -> _Create_ and name it something meaningful like `LDAP`. Choose the provider created in the previous step.
### Create LDAP Outpost
1. Create (or update) the LDAP Outpost under _Applications_ -> _Outposts_ -> _Create_. Set the Type to `LDAP` and choose the `LDAP` application created in the previous step.

:::info
The LDAP Outpost selects different providers based on their Base DN. Adding multiple providers with the same Base DN will result in inconsistent access
:::
### ldapsearch Test
Test connectivity by using ldapsearch.
:::info
ldapsearch can be installed on Linux system with these commands
```
sudo apt-get install ldap-utils -y # Debian-based systems
sudo yum install openldap-clients -y # CentOS-based systems
```
:::
```
ldapsearch \
-x \
-h <LDAP Outpost IP address> \
-p 389 \ # Production should use SSL 636
-D 'cn=ldapservice,ou=users,DC=ldap,DC=goauthentik,DC=io' \
-w '<ldapuserpassword>' \
-b 'DC=ldap,DC=goauthentik,DC=io' \
'(objectClass=user)'
```
:::info
This query will log the first successful attempt in an event in the _Events_ -> _Logs_ area, further successful logins from the same user are not logged as they are cached in the outpost.
:::