# Sentry Integration
## What is Sentry
From https://sentry.io
!!! note ""
Sentry provides self-hosted and cloud-based error monitoring that helps all software
teams discover, triage, and prioritize errors in real-time.
One million developers at over fifty thousand companies already ship
better software faster with Sentry. Won’t you join them?
## Preparation
The following placeholders will be used:
- `sentry.company` is the FQDN of the Sentry install.
- `passbook.company` is the FQDN of the passbook install.
Create an application in passbook. Create a SAML Provider with the following values
- ACS URL: `https://sentry.company/saml/acs/<sentry organisation name>/`
- Audience: `https://sentry.company/saml/metadata/<sentry organisation name>/`
- Issuer: `passbook`
- Service Provider Binding: `Post`
- Property Mapping: Select all Autogenerated Mappings
## Sentry
**This guide assumes you've installed Sentry using [getsentry/onpremise](https://github.com/getsentry/onpremise)**
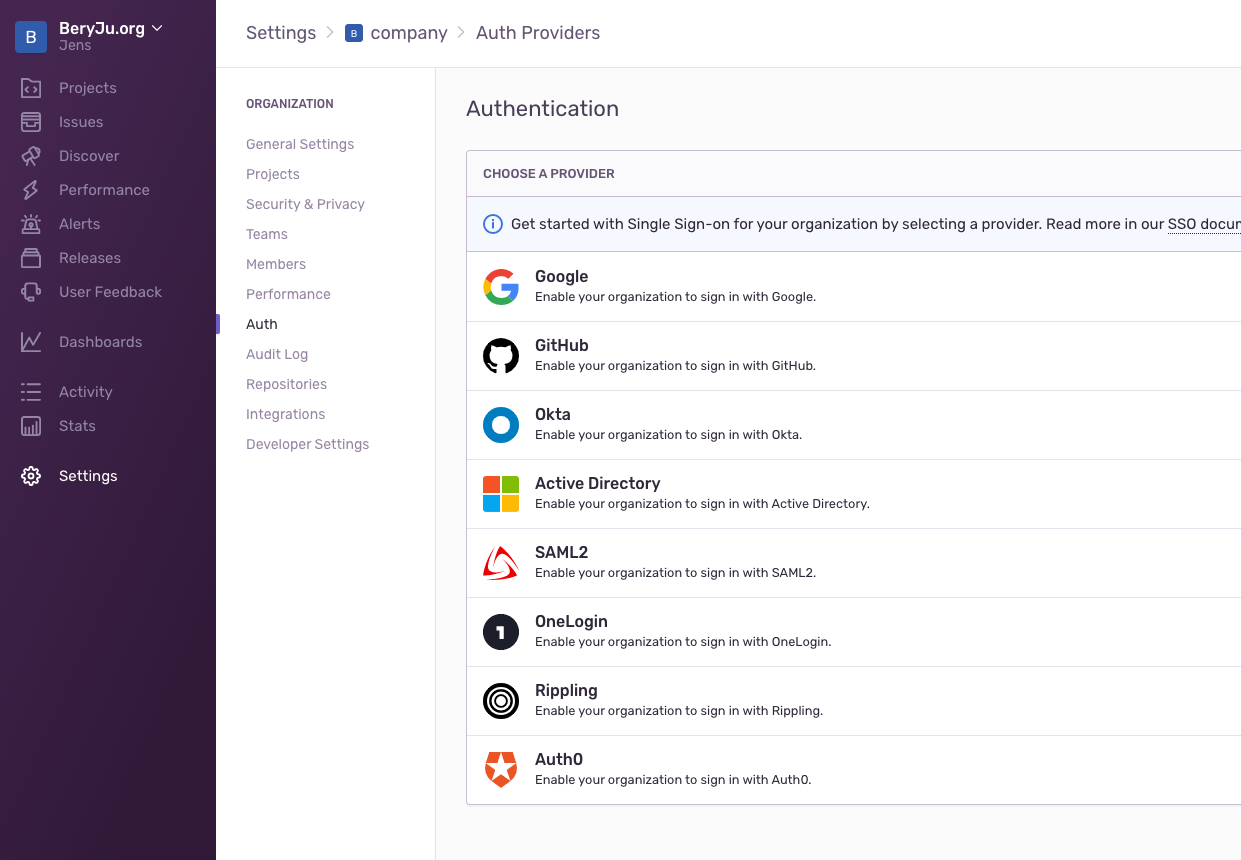
Navigate to Settings -> Auth, and click on Configure next to SAML2
In passbook, get the Metadata URL by right-clicking `Download Metadata` and selecting Copy Link Address, and paste that URL into Sentry.
On the next screen, input these Values
IdP User ID: `urn:oid:0.9.2342.19200300.100.1.1`
User Email: `urn:oid:0.9.2342.19200300.100.1.3`
First Name: `urn:oid:2.5.4.3`
After confirming, Sentry will authenticate with passbook, and you should be redirected back to a page confirming your settings.